Every time you use Automatic Update or a stand-alone installer, the update package is automatically extracted in a temporary directory (a folder with a name like 5b7ebf9872d5b93ab156a444). This operation is performed by the MpSigStub.exe installer. After the update is extracted in the temp folder, MpSigStub.exe will perform various checkups and determines if the extracted files are ready to be applied. By default, MpSigStub.exe is located in C:/ Windows / System 32, but you can also encounter it inside a temporary folder created by the update installer. In some case, you can discover multiple copies of MpSigStub.exe.
The confusion around MpSigStub.exe
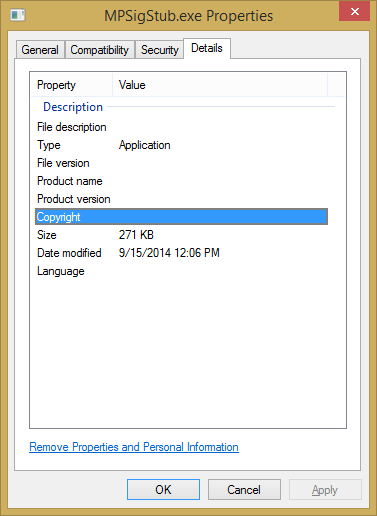
Back when Microsoft was preparing to launch Windows 10, MPSigStub.exe was implemented on Windows Vista, Windows 7 and Windows 8.1 with a silent update. Users were rightfully suspiciously as the executable had no Microsoft credentials in the Properties window. Even more strange, some users have noticed that the file was located on the second partition (not the one accommodating the OS) or even on an external hard drive. To add to the confusion, the executable contains the word Stub – a stub is a file created by a crypter that encrypts a malicious program in order to make it undetectable by anti-virus software. It’s often attached to the executable which is encrypted and read-only. However, some malware/trojans are known to be capable of camouflaging themselves as the MPSigStub.exe, and hide inside C:\ Windows or C:\ Windows\ system 32. In the first couple of weeks after it has been implemented, a number of antivirus suites like SpyHunter, McAfee and Bullguard flagged and even quarantined MPSigStub.exe for suspicious activity related to registry change. Since then, people have rightfully reported it as a false positive in their security suites, so your antivirus should not flag it unless it’s actually a camouflaged malware.
Deleting MPSigStub.exe
Normally, MPSigStub.exe and the folder it has created should be automatically deleted when the update process is complete and MPSigStub.exe is no longer used. Even though it won’t end up breaking your system files, deleting the MPSigStub executable is completely unnecessary on normal terms. However, there are situations where the update installer will glitch out and create multiple strange folders with the MPSigStub executable in each of them. Typically, those folders are created on external media and hard drives. This is only known to happen on Windows versions older than Windows 10. Users encountering the MPSigStub.exe glitch complained that their system wouldn’t let them delete the folders with the executable normally. But keep in mind that even if you manage to delete MPSigStub.exe, Windows will automatically recreate the file the next time it needs it. Below you have a collection of methods that will allow you to delete the MPSigStub.exe file and the folder it has created. Please follow whichever one seems more accessible to you. Let’s begin: Note: There’s no need to delete it unless you’re actually suffering from the glitch that produces multiple instances of the MPSigStub.exe. If that’s the case, apply one of the methods below to each of the folder that contains the MPSigStub executable. Keep in mind that deleting the MPSigStub.exe located in Windows / System 32 will not remove any generated folder.
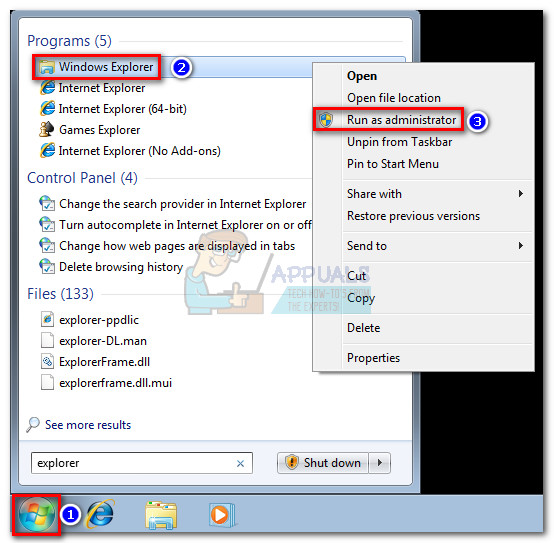
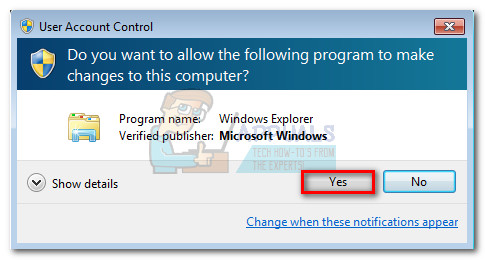
Method 1: Opening File Explorer (Windows Explorer) in Administrator Mode
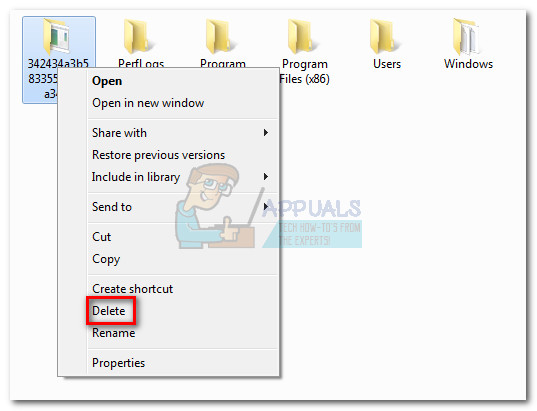
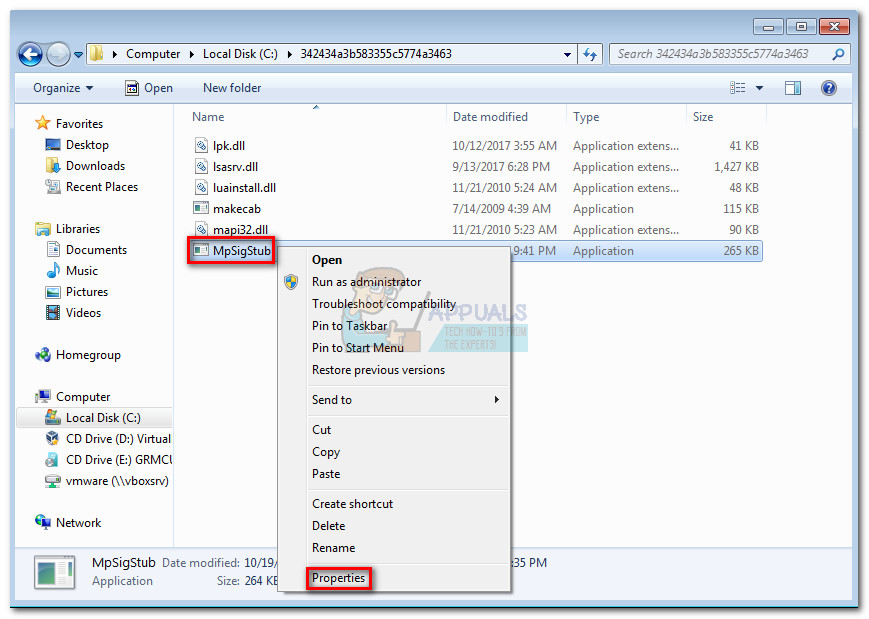
This is perhaps the easiest method of bypassing the permission issue when having to delete the MPSigStub executable. It involves opening the built-in file explorer with administrative privileges. Here’s how to delete the MPSigStub.exe with explorer.exe in Administrator mode:
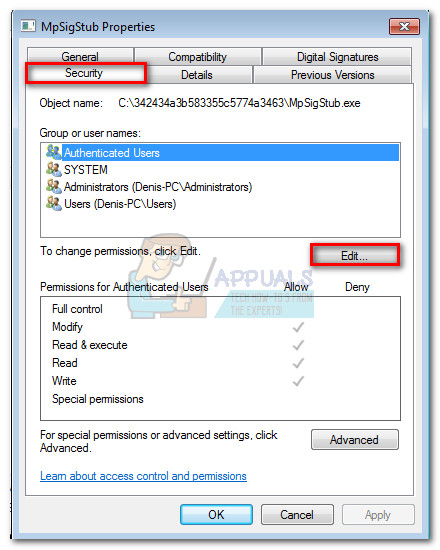
Method 2: Changing Permissions for MPSigStub.exe
The same result can be achieved by changing the permissions for the MPSigStub executable. This might take a little longer, but you won’t end up granting unnecessary permissions. Here’s what you need to do:
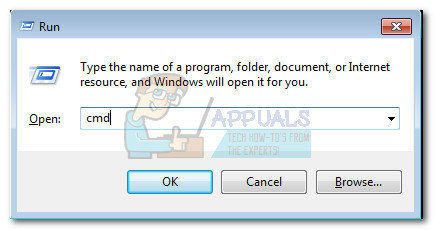
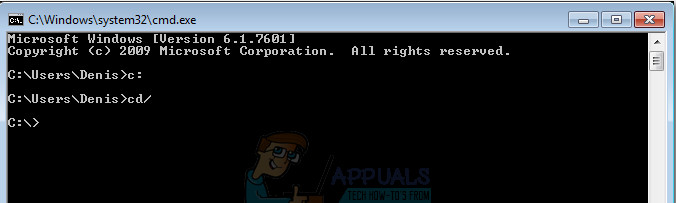
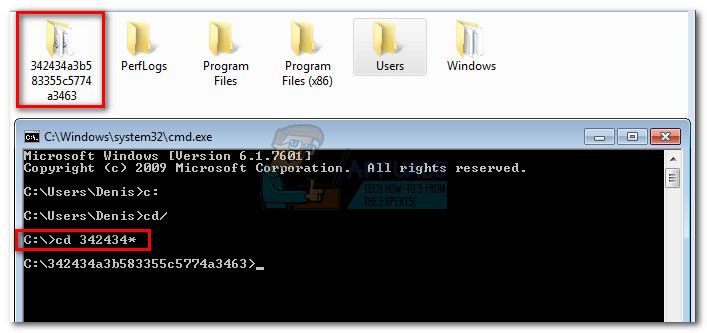
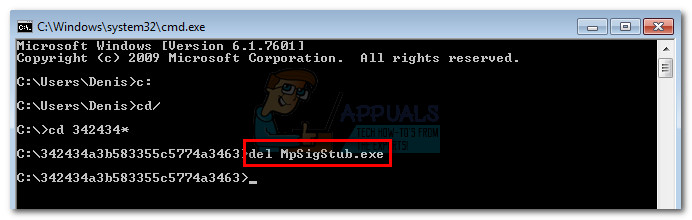
Method 3: Deleting MPSigStub.exe via Command Prompt
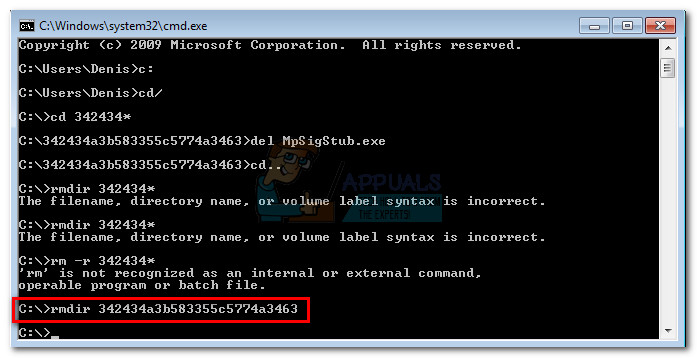
This method is a little more complicated since it involves using Command Prompt. However, it will not require you to modify permissions or navigate with administrator privileges. Here’s what you need to do: That’s it. The folder along with the MPSigStub.exe is now deleted.
What is agent.exe and Should I Delete it?What Is kdbsync.exe and Should I Delete It?What is consent.exe and should I delete it?What is: tv_w32.exe and should I delete it?