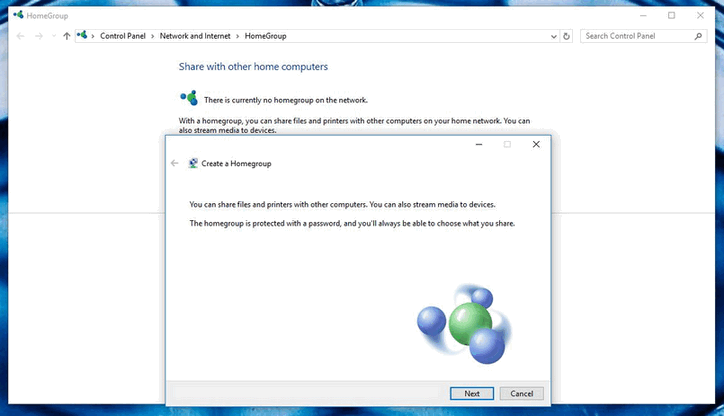
Naturally, the HomeGroup feature was also brought over to Windows 10. However, users have unfortunately been running into a plethora of issues using the feature. Some of the most common issues that Windows 10 users face (and which we’ll address) with HomeGroups include:
What causes issues while setting up and using a HomeGroup on Windows 10?
How to Fix common HomeGroup issues?
Users can face a number of different issues when dealing with HomeGroups on Windows 10, and so there are just as many possible solutions as there are problems. The following are the most effective solutions you can use to try and fix an issue with Windows 10’s HomeGroup feature:
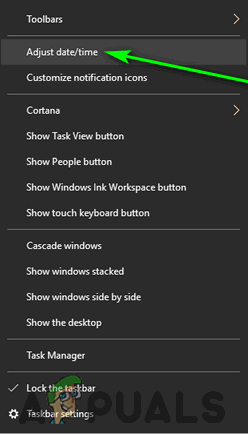
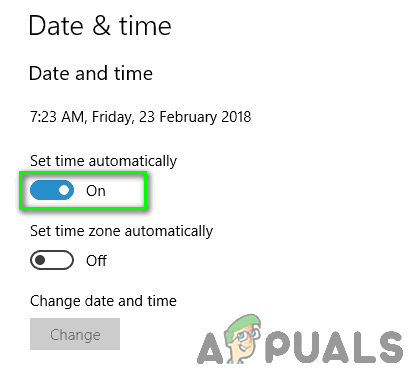
Make sure the affected computer has the right date and time
As bizarre as it may sound, you could be having a nightmare of a day with HomeGroup simply because the computer you’re using has the wrong date and/or time. To make sure the affected computer has the right date and time configured, simply:
Ensure you have the right password for the HomeGroup
If a HomeGroup already exists on your local network but other computers are unable to join it, there’s a chance you’re using the wrong password to try and join the HomeGroup. A computer can’t just join an existing HomeGroup willy-nilly – you need to type in the password for the HomeGroup you want to join in order to be granted access. Knowing an (even slightly) incorrect password is the same as not knowing a password at all, as you won’t be able to join the HomeGroup in either case. That being the case, be sure to double-check that you have the right password for the HomeGroup you are trying to join. Know that you’ll have to do so on the computer the HomeGroup in question was created on.
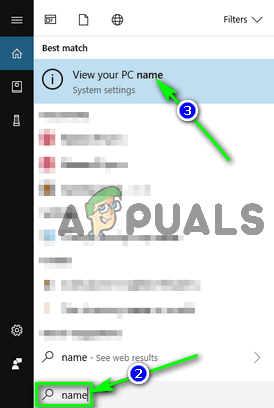
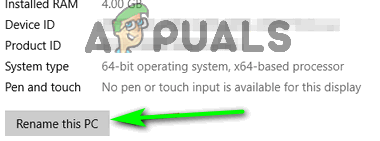
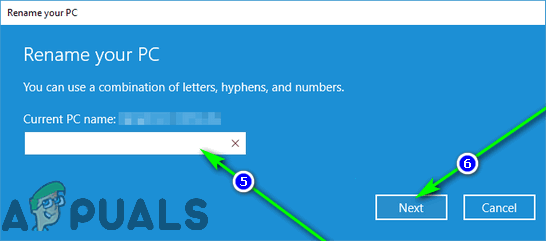
Change the affected computer’s name
Changing your computer’s name is an amazing way to get rid of any inherent incompatibilities between the computer and the HomeGroup you are trying to join. Once your computer’s name has been changed, the HomeGroup will treat it as a completely new computer with no bad blood between them. To change a Windows 10 computer’s name, you need to: Once the computer boots up, you should be able to successfully connect to the HomeGroup you previously couldn’t join. If any other computers on your network are experiencing the same problem, you are going to have to repeat the steps listed and described above for each of them.
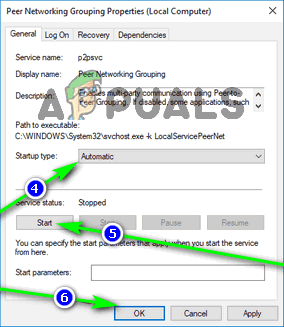
Make sure that all core HomeGroup services are enabled and running
There are a number of different system services that the HomeGroup feature depends on to function properly, and each of these needs to be enabled and running for a Windows 10 computer to create, join, or use a HomeGroup. In order to make sure that all core HomeGroup services are enabled and running, you need to:
Have IPv6 enabled on all of the computers
Windows’ HomeGroup feature requires IPv6 to work. You don’t need IPv6 enabled on your computer in order to have a working internet connection on it, but you do need it enabled if you want to create, join, or use a HomeGroup on your local network. If you’re running into problems setting up or using a HomeGroup, make sure you have IPv6 enabled on the computer(s) you are experiencing these problems on.
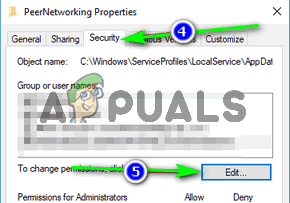
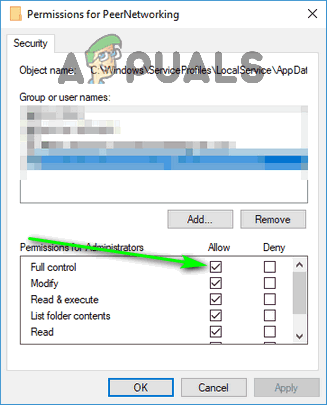
Grant Full Control of the PeerNetworking and MachineKeys folders to all users
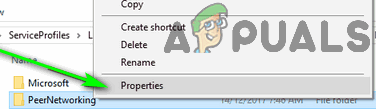
Rename the MachineKeys folder
If the PeerNetworking folder is the heart of the HomeGroup feature, the MachineKeys folder is its soul. Renaming the MachineKeys folder will force Windows to create and populate a new MachineKeys folder, resolving authority issues or any issues involving file permissions.
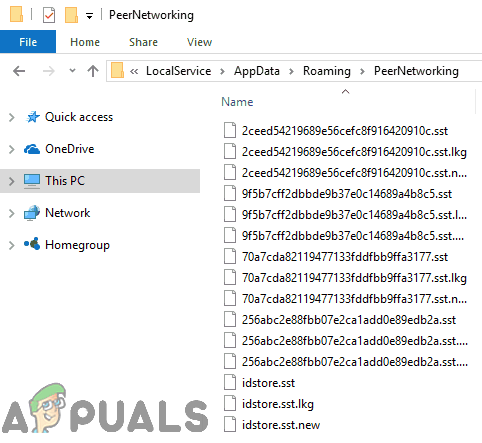
Delete the contents of the PeerNetworking folder and create a new HomeGroup
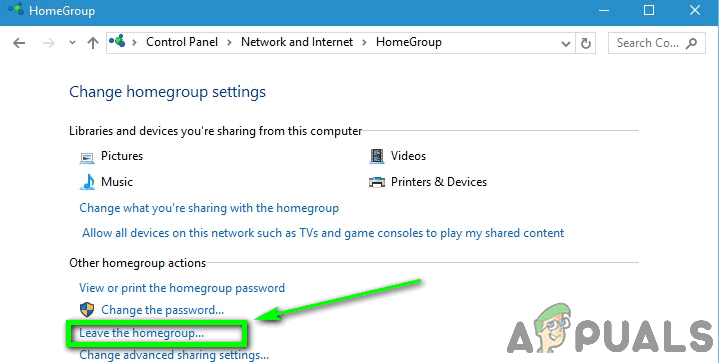
Leftover files from older HomeGroups that have already been deleted can prevent a Windows 10 computer from creating a new HomeGroup, and can also stop HomeGroups created on affected computers from being visible to other computers on the network. Deleting files from previous HomeGroups won’t affect any future HomeGroups you create as the PeerNetworking folder is populated with new files every time a HomeGroup is created. Note: If the affected computer is already part of a HomeGroup, right-click on the Start Menu button to open the WinX Menu, click on Control Panel, search the Control Panel for “homegroup“, click on Leave the homegroup… in the HomeGroup settings, and confirm the action. Repeat this process for all computers on the HomeGroup before proceeding.
Fix: Windows no Longer Detects a HomeGroup on this Network Error on Windows 10Fix: Windows Couldn’t Remove your Computer from the HomegroupHow to Retreive or View HomeGroup Password in Windows 10FIX: Can not join or create homegroup on Windows 10