How to Setup VPN on Chromebook?
There are three ways available to setup VPN of Chromebook. You can select the best one which is convenient for you.
Setup VPN on Chromebook using Google Play StoreSetup VPN on Chromebook using Chrome ExtensionSetup VPN on Chromebook Manually
Method 1: Setup VPN of Chromebook using Google Play Store
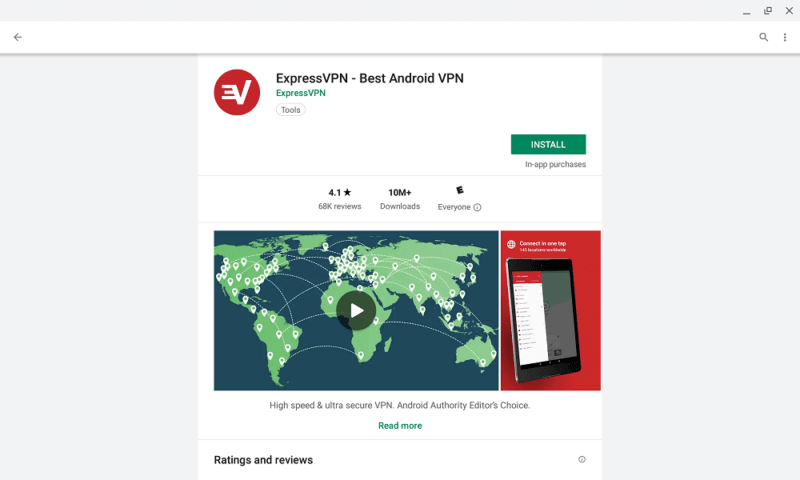
The best and easiest way to secure your Chromebook is by using Android VPN apps. But it is applicable only for the Chromebook users having Google Play support on their device. If you can’t find the way to download Android apps from the Google Play Store, you need to modify a few changes in settings to enable Google Play Store. #1: Navigate to Settings -> About Chrome OS. #2: Click More info. #3: Tap Change Channel under the Channel settings. #4: Click the button which labeled as Beta and again tap Change Channel. #5: Now, the beta version of Chrome OS will be downloaded and installed on your device. #6: Restart your Chromebook and navigate to Settings page. #7: Click the checkbox named as “Enable Google Play Store on your Chromebook.” #8: Tap Agree -> click Sign in -> Enter your Google account credentials. Now you can download the dedicated Android VPN apps on your Chromebook, just like downloading Apps on Android mobiles. Make sure to select the best VPN which provides high-level security features. After selecting the best VPN, sign up and purchase the VPN service by visiting the official website of provider.
Launch Google Play Store.Search for VPN app.Select the official VPN app from the search results.Tap Install and wait for few minutes.Tap Open to launch the app.Enter your login credentials and start protecting your Chrome browser activity or traffic originating from any app.
(Note: If you can’t find these settings on your Chromebook, probably you will have the Chromebook that doesn’t have Google Play Store support. In that case, you can use Chrome Extension method) You may also like: How to Cast Media from Chromebook to Chromecast?
Method 2: Setup VPN on Chromebook using Chrome Extension
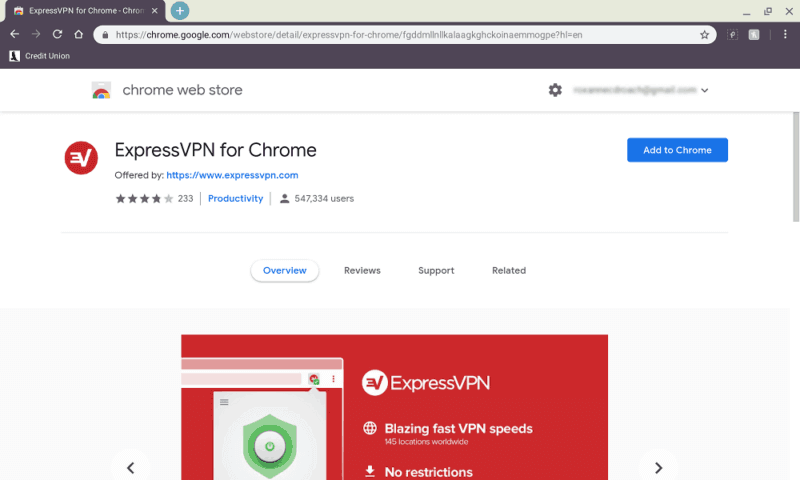
If you can’t install Android VPN apps on your Chromebook, you can use this method to protect your Chromebook. By this method, you can secure only the Chrome web traffic. While using this method, you have to consider the followings factors:
Select the VPN which provides browser extension supportThe extension must give you the access to control the VPN
Follow these procedures to setup VPN on Chromebook using Extension: #1: Open Chrome browser and navigate to Chrome store. #2: Search for the VPN extension that you need. #3: Select Add to Chrome located next to the desired extension. #4: That’s it. The extension will be added to your Chrome within a few minutes. #5: On the task bar, click the VPN extension that you added. #6: Provide your login details and secure your web traffic with ease.
Method 3: Setup VPN on Chromebook Manually
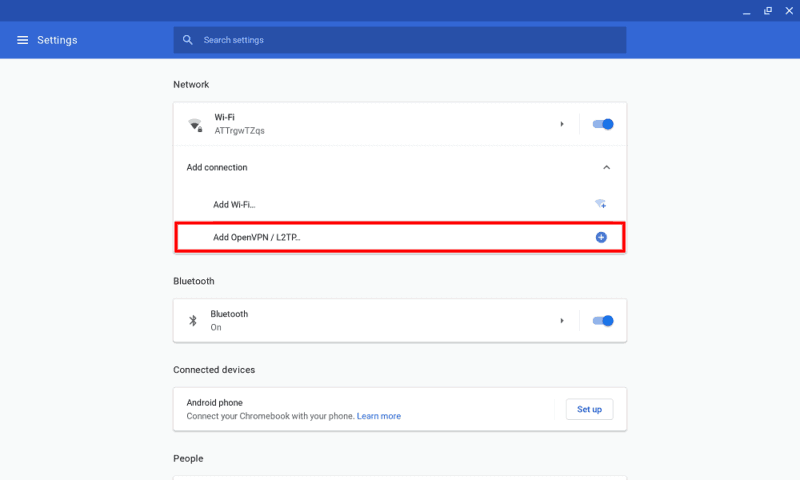
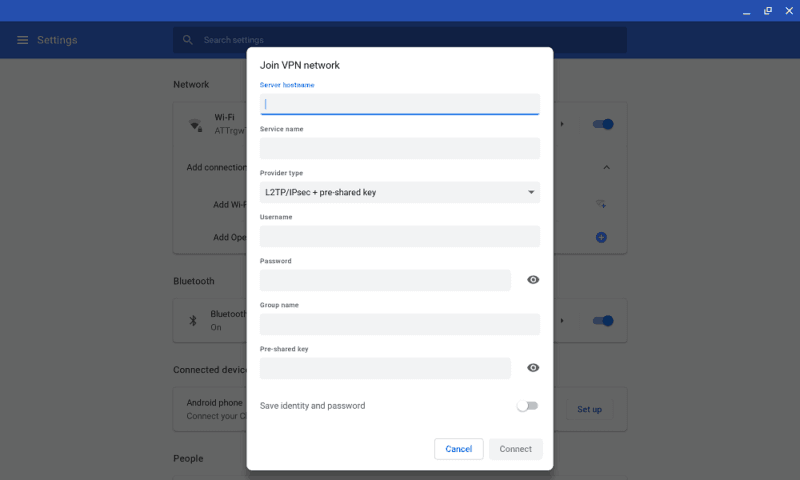
It is the last method that let’s you setup VPN service on your Chromebook. By this method, you have to manually configure VPN service on your Chromebook. As usual, select the best VPN service and purchase the premium service according to your convenient. Here we are using ExpressVPN for the demonstration purpose. #1: Visit ExpressVPN official website and sign-in with your login credentials. #2: Navigate to control panel and tap Set up on more devices. #3: From the listed options, select manual config. #4: Click PPTP & L2TP-IPsec. #5: Copy the username, password and list of server addresses that displayed on the screen. #6: Get back to the desktop and open settings menu. #7: Navigate to Network Settings and click Add OpenVPN/L2TP option located under the Add Connection menu. #8: Now, a window with the following details will appear on the screen. On that Window, you have to configure your VPN details:
Server hostname: Enter the server address that you copier earlier.Service name: Enter a name your serviceProvider type: Select LT2P/IPSec + pre-shared key.Username: Enter username that you copied earlier.Password: Enter the password that you copied earlier.Group name: leave blank.Pre-shared key: Enter the key that you got from your provider.
#9: After entering those details, tap Connect. #10: Now, the VPN panel will appear on your screen.
Final Thoughts
These are the three methods that lets you setup VPN connection on your Chromebook. The only thing you have to do is select the right VPN provider who offers all kind of advanced security features. We hope the article is really helpful and easy to follow. Thank you for visiting Techfollows.com. For further queries and feedback, feel free to leave a comment below.