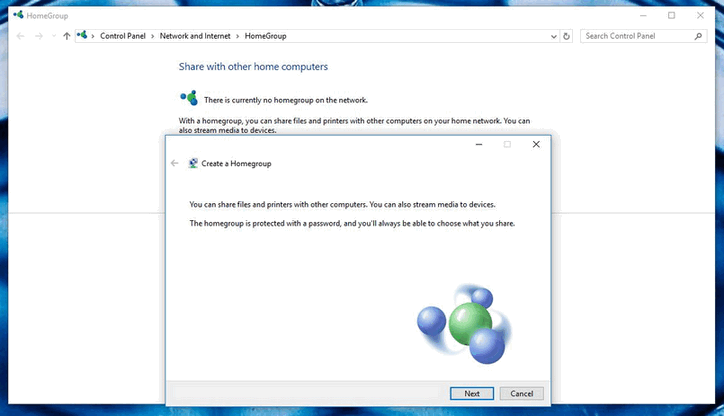
When you have several computers connected in a home network (not public or work network), Homegroups come in handy. Any device connected to a single computer on the Homegroup can be accessed and used by other PCs on the same network. Even computer libraries can be shared by computers in a Homegroup. Below, we take a look at how to add the Homegroup icon on the desktop, as well as removing it if necessary.
Accessing the System Registry
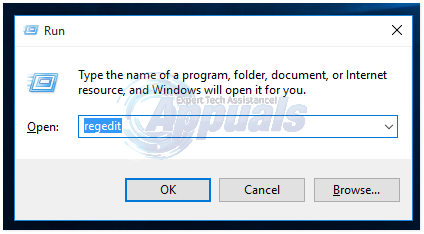
There are several ways through which users can access the Windows registry. It is highly recommended that you back up your system registry settings before proceeding. The most common method of accessing the registry is by use of the Registry Editor.
Adding the Homegroup Icon
Removing the Homegroup Icon
To remove the Homegroup Icon, just repeat the above steps from “regedit.exe” up to “HideDesktopIcons”.