Before moving on with the solutions, make sure that there are no external devices attached to your system. Restart your system and launch Steam to check if the problem is solved. Turn off any proxy or VPN, if you are using. Moreover, try to use windowed mode for Steam games and check if that helps. If you are using a beta version of Steam, opt-out of it. We have listed down all the possible ways to fix this problem. Refer to the solutions from the top and work your way down. As you go down, the technical difficulty of the solutions increase.
Solution 1: Delete ClientRegistry.blob
ClientRegistry.blob is the file used by Steam that holds your registration data of the installed games. If we delete it, the file will be restored on the next login. You preserve all of your default settings on each game installed (your name, skins, etc). This fixes about 30% of the problems as this file can get corrupt easily. Do note that after this solution when you launch Steam again, it will prompt you for your username and password. Don’t follow this solution if you don’t have your credentials at hand. Furthermore, your saved progress and in-game items will not be lost. They are stored on cloud storage by Steam so it is safe to assume that deleting ClientRegistry.blob won’t bring any problems to you or Steam. Follow the steps listed below. Hopefully, your Client will run as expected. If it still doesn’t work, follow the steps listed below.
Solution 2: Boot System in Safe mode with Networking and Then Launch Steam
Safe mode is a diagnostic startup mode present in the Windows OS. It is used to gain limited access to Windows while troubleshooting as most of the unwanted processes/software gets disabled. Safe mode is developed to help pinpoint the problem or fix it in most cases. If your Steam starts up normally using this method, it means that there is a conflict with a third party application/software with your Steam. You can try removing/disabling these applications to ensure that the conflict gets resolved. Starting anything in safe mode doesn’t pose any kind of thread and it is used worldwide to fix various problems. You don’t have to worry about anything. If you still face a problem and Steam refuses to start and keeps crashing, it means that there is some other problem. Keep following the solutions listed below.
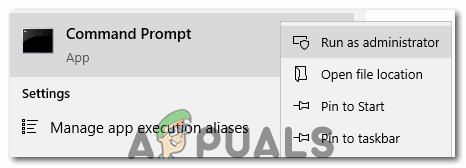
Solution 3: Launch Steam With Administrator Access
Steam is a platform that requires “read and write” permissions on disks and its folders. Sometimes it also needs to change the system files so it can run in the most optimized way possible. If Steam doesn’t have administrator access, it can get stuck and keep crashing indefinitely. By default, Steam doesn’t have administrative rights when it is installed. You can grant it the privileges by following the steps mentioned below.
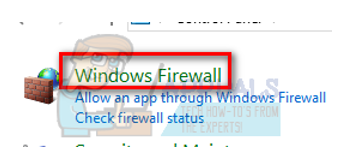
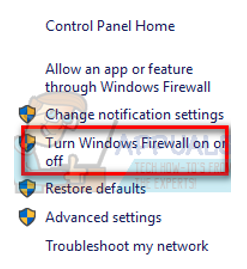
Solution 4: Disable Your Antivirus and Firewall
It is a well-known fact that Steam conflicts a lot with many Antivirus software. Steam has a lot of processes going on at once at the same time. This consumes a lot of memory and CPU usage. Because of this, many antivirus software adds Steam as a potential threat and doesn’t let it run as expected. We have put together a guide on how to put steam as an exception in antivirus. Follow the steps here. For disabling the Windows Firewall, follow the steps listed below.
Solution 5: Delete the AppCache Folder of Steam
AppCache is a cache allocated for files. It doesn’t contain any of the Steam system files and will not affect your client in any way. We can try deleting it and checking if this solves the problem. There are very fewer chances that it will work but it’s worth a shot before proceeding to more technical solutions present. If this doesn’t fix the problem and game still crashes, follow the solutions listed below.
Solution 6: Update Your System Drivers
Your computer uses drivers to launch any application. Steam also updates itself with any new drivers which come to the market. If Steam is updated to run with the latest drivers while your computer still has the old ones installed, this can prove to be a conflict. Always make sure that your drivers are up-to-date. These include audio, video, graphics drivers, etc. Also, update other drivers such as DirectX. If the problem started to occur after updating the graphics driver, then rolling back the driver may solve the problem.
Solution 7: Reset the Network Adapter
Network adapter is the main component in your computer which communicates with the computer and with the operating system. Network adapters work automatically with your other drivers but there are instances where they get in an error state or have a corrupt configuration set. In that case, resetting your network protocol may solve the problem.
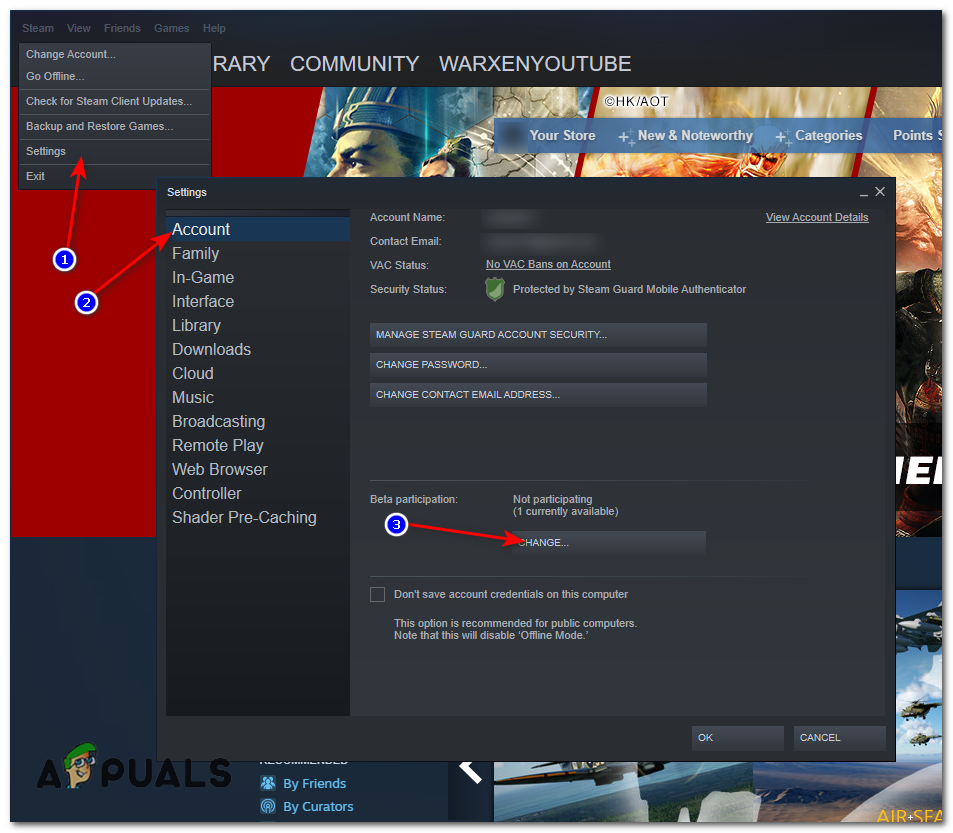
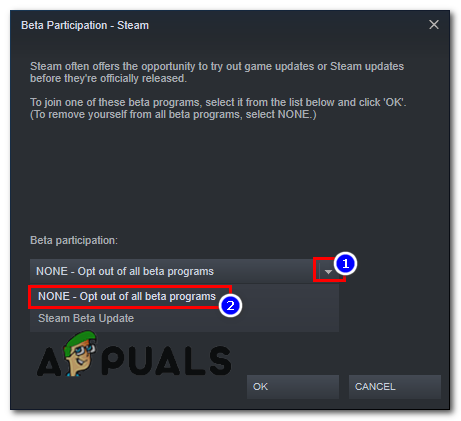
Solution 8: Outing out of beta
It’s possible that you have opted into the beta program of Steam, this can cause stability issues for some users if the beta version has any problems. This results in your Steam crashing, follow these steps to opt-out of the beta program of Steam.
Final Solution: Uninstall Steam And Reinstall Later
Before we uninstall Steam, you should copy the folder named “SteamApps”. This contains all the data regarding your games. If you don’t copy this folder, the uninstallation process will remove all of your game files. Now we will proceed with the uninstallation process. There are two ways to uninstall Steam. The first one is to uninstall using Control Panel and the second one is to uninstall it manually. Resort to the first method as it is more easy and comprehensive. If the first method fails, resort to the second one.
Uninstall Through Control Panel
Uninstall Manually
When we deal with the registry, we have to be extra careful not to tamper other registries. Doing so can result in major technical problems on your PC. Always follow the steps very carefully and only do what is mentioned.
Install Steam
Since we have uninstalled Steam again, we can start the installation process. You can get the Steam installation files from here. Click on “Install Steam Now”. Your computer will download the required files and upon opening, ask for the install location you wish to choose. Chose the download location and let Steam download and install itself. After installation, run Steam and hopefully, it won’t be giving any problems. Note: Even after following all these solutions, Steam keeps crashing, it means that there is a problem with your hard drive. Check your hard drive for any bad sectors using any software available.
Other Workarounds
If none of the solutions above helped you at all it’s possible that you have a bad USB driver on your computer. Now you can’t fix it directly, you will have to update your USB hub drivers and check for any conflicts, It’s preferred to use the USB Drivers provided by the manufacturer of your Device. However, for now, before starting steam please unplug all of your USB devices except for your Mouse then right-click on the Steam icon and run it as an administrator. This should work for you. If it does work for you but as soon as plugging your devices back crashes steam for you. You can try to start Steam as Big Picture mode.
PUBG Keeps Crashing? Here’s how to fixFix: Dragon Age Inquisition Keeps Crashing to Desktop - No Error MessageFix: Davinci Resolve Keeps CrashingFix: Rust keeps Crashing
![]()