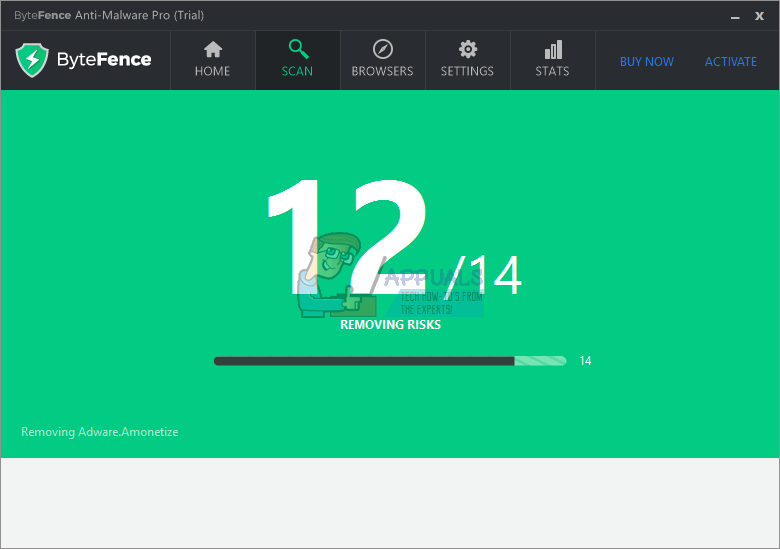
Now normally when you want to uninstall stuff, you can just go to the Control panel, select the tool, right click on it and uninstall; but these sneaky trespassers have a way of not appearing on the installed programs list. They do this by overriding some kernel level routines and hiding from the scans of normal anti-viruses and also often the operating system. Are you also been faced by one such predicament? Do you also have ByteFence on your computer, don’t know where it came from but definitely want to get rid of it? Have you tried the different methods available already but to no avail? Well then stop with your worrying because you have finally landed at the right place. We will be presenting you with two alternate methods to getting rid of ByteFence. We suggest reading both (along with the expected repercussions) out and then proceeding with implementing the one that suits you.
Method 1: Use Malwarebytes to Uninstall
Malwarebytes is a strong and sophisticated software that can help you in the eradication of the most hard-to-detect viruses, Trojans and even rootkits. Perform these steps to ensure that you no longer have to see ByteFence. Follow steps (here) to run and let Malwarebytes uninstall Malwares/Rootkits/Adwares.
Method 2: Performing a System Restore
In the second method, we will be advising our users to perform a system restore. Like in all the previous Windows versions, a system restore allows you to rectify the mistakes that you might have made by restoring a previous version of your Windows installation. This is possible because Windows has been developed in a way that automatic restore points are created every time a significant alteration/installation is made. For every major update, a restore point is created and if you install an application of significance, then too a restore point is created. Restoring your system is one of the most trivial methods to solve any Windows related problems but most of the time, it’s effective. We recommend you to only try this method if you haven’t already gone through the first method because you will be able to get rid of ByteFence but you might welcome some other discrepancies. If you want to proceed, perform the following steps: Open the start menu by pressing the windows button and in the search, type “System restore”. You will be suggested with a link that says “Create a restore point”. Click on it. Here there will be a button by the name “System Restore” under a section of the same name. Click on it Follow the on-screen instructions and soon you will be presented with a number of restore points (Could be 1, could be plenty more). Select the desired one (which is from a date before you accidentally installed ByteFence) and proceed by clicking “Next”. (You can also click on the “Scan for affected programs” before you click on next to ensure that there aren’t any possible discrepancies that you might face. This method should ideally work for you but it might lead to some applications not performing well that’s why the first one is recommended. Let’s know how things turned out for you! We also have a seperate article about System Restore with images which can be followed here
BEST GUIDE: How to Manually Run Windows Updates (7/8/8.1 and 10)Buyers Guide: 5 Best B450 Motherboard Reviews in 2022BEST GUIDE: How to Clear Search History and Cache on MacBEST GUIDE: How to Update Dell BIOS
